How to Make Sake Without Yeast
If you have ever been to a popular Japanese restaurant in your city, or even actually traveled to Japan, it is very likely that you have heard of Sake.
To make sake without yeast, you will use smashed grapes instead of yeast balls. When you are combining your ingredients you will layer the rice with grapes instead of the traditionally used yeast balls. These grapes will allow the sake to ferment over the two week period in the same way yeast does.
While it is detailed, this ingredient change does not complicate the recipe.
Is sake healthy? Yes, sake is healthy. Drinking Japanese sake can reduce the risk of cancer, diabetes and high blood pressure. Sake is high in amino acids and provides the body with essential nutrients that are naturally gluten-free.
Read on to find out more about how you can make sake without using yeast.
If you're new to Sake, don't forget to check out my beginner's guide: Sake For Beginners - A Deep Dive into Sake.
The Yeast Replacement
If you are attempting to make sake without any added yeast, you are going to want to buy a lot of grapes. There are a few different ingredients that are available for use instead of yeast, one of them being bread.
However, the sweetness of grapes really highlights the sweet, bubbly flavor profile that sake traditionally has. It gives it a fruity taste that is unique and very enjoyable. The grapes can be used in your recipe so that you have the fermentation you need without the added yeast that rice or bread contains.
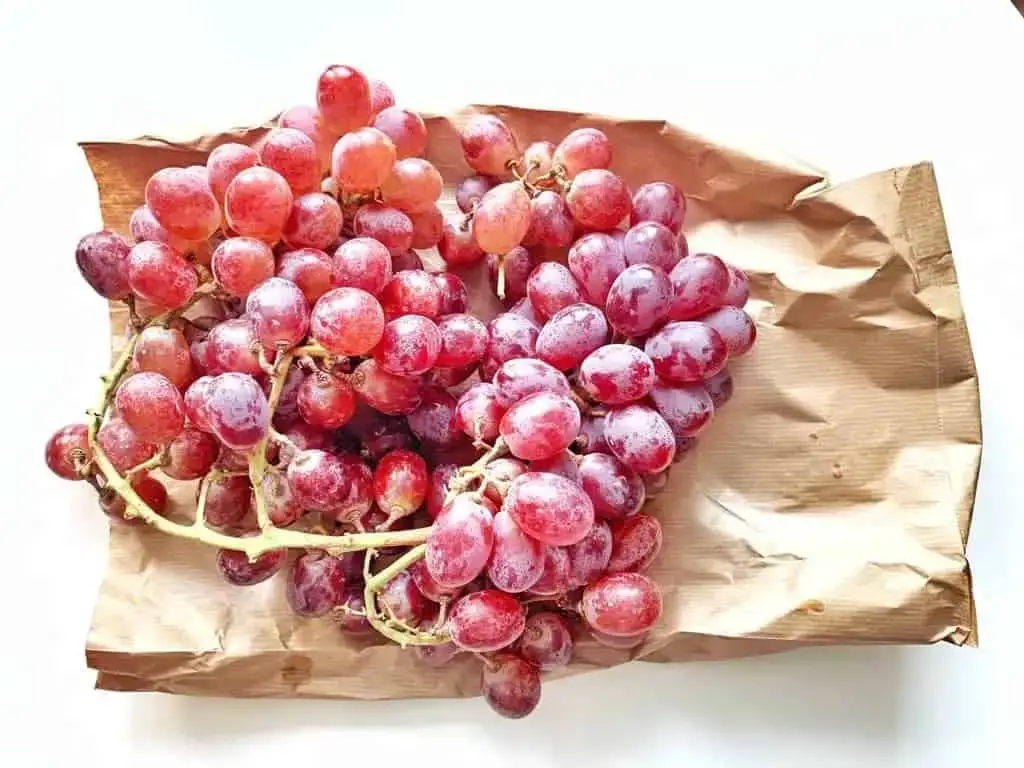
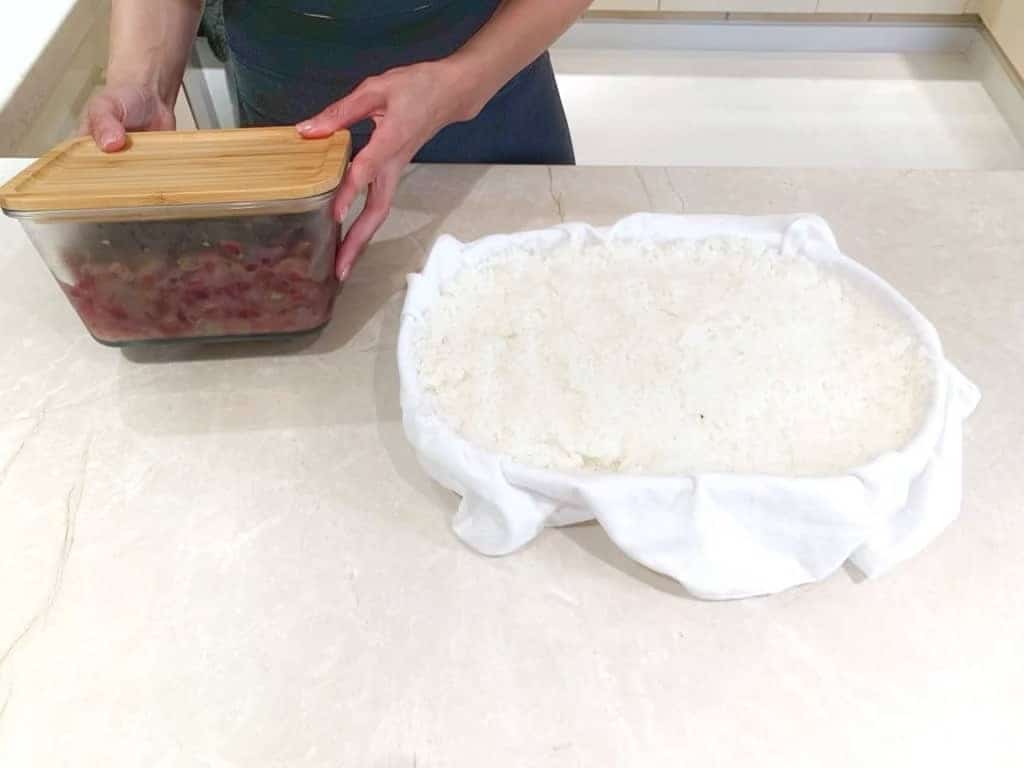
The first thing you are going to want to do in preparation to make your sake is smash and/or crush a bunch of grapes. Once you have them all mashed up, you are going to want to store them in an airtight container. Big mixing bowls like these that come with airtight lids would be perfect for storing your smashed up grapes.
You are going to want to let these traps sit overnight in your fridge to allow them to begin to ferment. These mashed up grapes are going to take the place of the yeast that was mentioned as the main ingredient in the original recipe. However, grapes are also a centuries old natural fermenter.
Grapes are most popular for their part in the winemaking process that originated in Italy. However, for this recipe we are going to use them to make our sake.
How to Make Your Own Sake
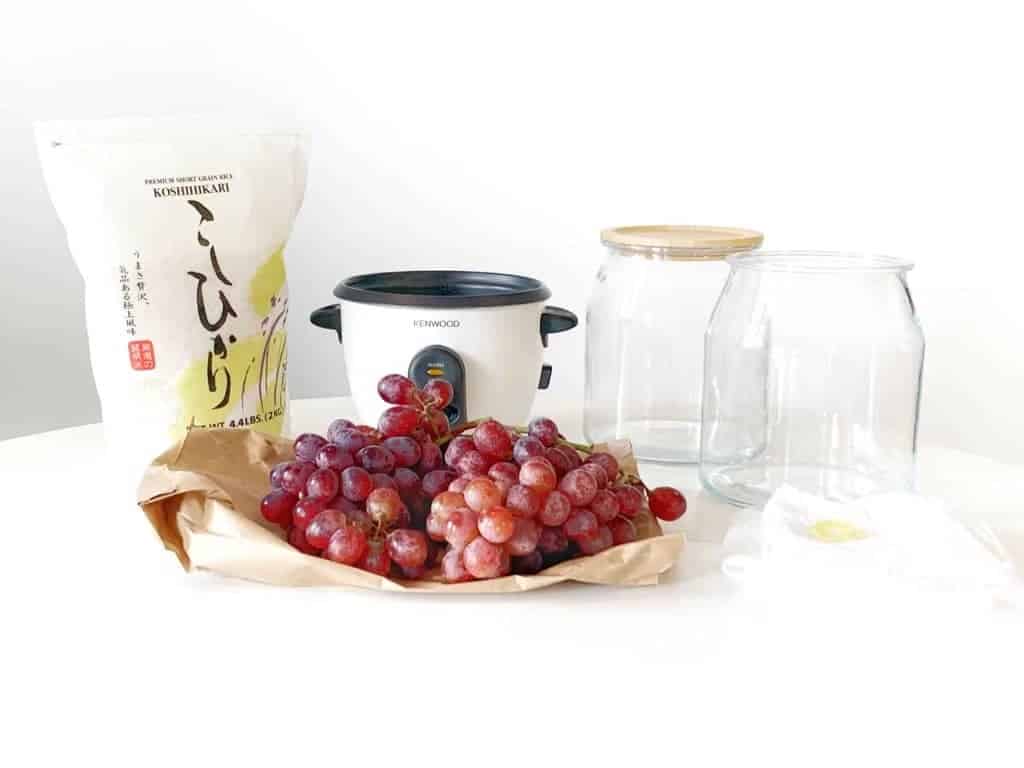
Ingredients list you will need:
•Grapes
•Rice
•A jar, drink dispenser, or gallon jug
•Coffee Filter
•Rubber Band
The most important thing to mention up front is that making your own sake is very, very time consuming. In reality it is a two week long process. A great recommendation is to set up a calendar, have reminders on your phone, or do whatever you need to make sure you do each step when you need to and do not forget.
How do you make it?
•The first step is to cook your rice. Everyone has a preferred way to cook their rice. Whether you are using a rice cooker like this one or are boiling it in a saucepan, make sure you let the rice cool to about eighty-five degrees when it is done.
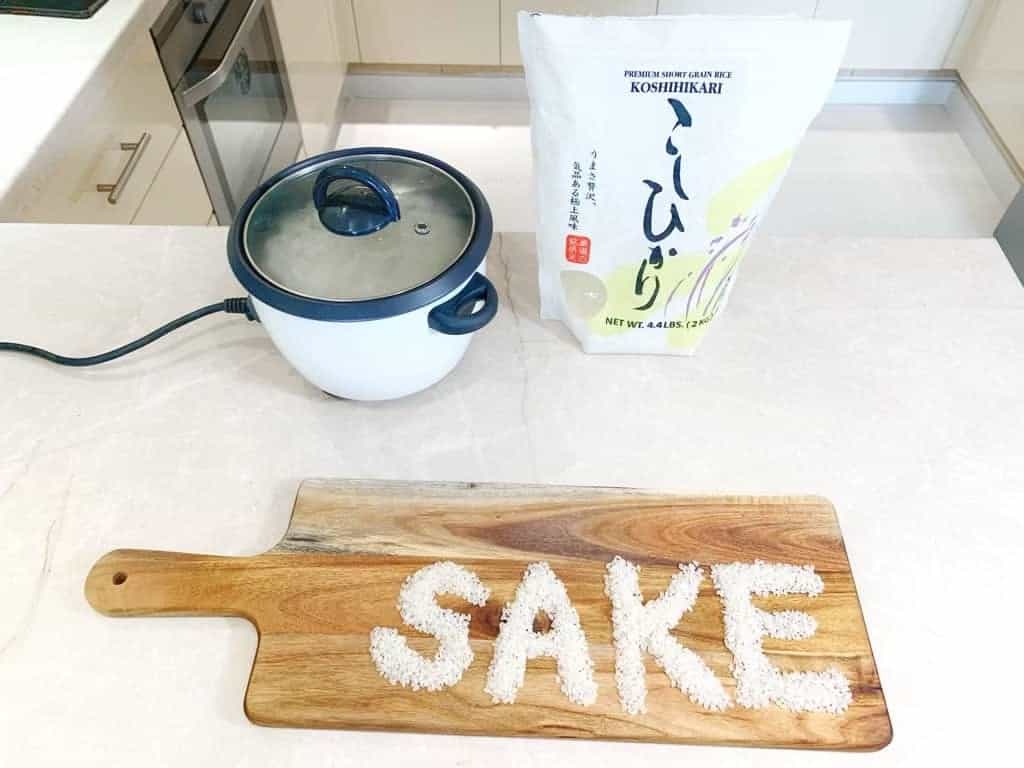
This cooling will keep the rice from making your sake mixture too steamy. The steaming could cause the smashed grapes to become a thinner consistency than you want them to be. When you are cooking this rice however, do not add any of your favorite, everyday rice ingredients. Do not add butter and do not add salt. We want straight up, just one hundred percent rice here.
•The second step is to take out your fermented grapes and allow them to warm up a little bit and reach room temperature. You do not have to do anything for this except take them out of the fridge and set them on the counter. You can do this while your rice is cooling down.
•The third step is to get out your chosen storage container for your sake. This can be a large jar, a drink dispenser, or a gallon jug as mentioned in the ingredients list. You are going to lay a thin layer of rice at the bottom of the container (about one inch thick), and follow it with a layer of the fermented grapes (also about one inch thick).
You are going to switch back and forth, making even layers of rice and grapes in your container. We want our layers to be even (so don’t get too generous with the grapes OR rice) so that the ingredients melt together evenly. You don’t have to perfectly measure the layers, but eye them carefully.
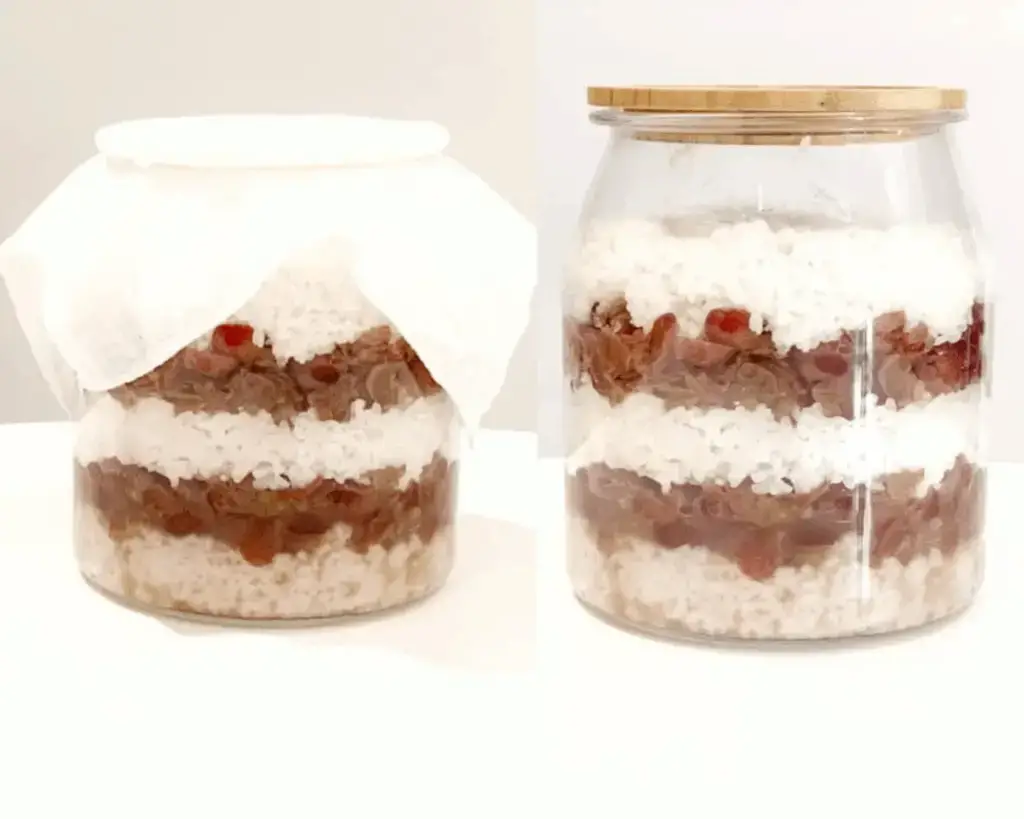
•Once you have filled up your container with the even layers of the rice and grapes, you are going to seal the top of the container with the breathable cloth and rubber band. You can do this by laying the cloth over the mouth of your container and snapping the rubber band down around the mouth, so that it is sealed shut.
This cloth works better than a plastic or metal lid because it allows the ingredients to breathe.
•Your next step, once everything is ready, is to leave the container in a room temperature area. You are going to want to pick an area of your house that is about seventy-five degrees, and you are going to leave the container out for two weeks to allow it to all ferment together. Be careful not to leave it somewhere where dogs, cats, or other pets can get to it or knock it down. Two weeks is a long time, and that leaves a lot of opportunities for messes.
•The only step that takes place during these two weeks is to occasionally stir the top layers of rice. These top layers are likely to begin to dry out, as rice does, and this is not great for our sake. By stirring occasionally it will slow the rice’s drying out. This is where the calendar or phone reminders come into play.
It is very likely, if you’re anything like me, that there will be days where you will completely forget about your sake. Having scheduled days and reminders to check on the process will help keep from having dried out rice.
•Once it has been two weeks, you are going to get out another large jar or gallon jug. You are going to lay the coffee filter over the opening of your chosen container, and then you are going to pour your fermented ingredients over the top of it. The coffee filter is going to strain out the solid pieces and leave you with a beautifully clear sake.
However, this step can be incredibly messy if you are not careful about it. My recommendation would be to put the drain stopper in the sink, put the new jar in the sink, and then pour your fermented ingredients out. This way, you can clean up/wash out the sink without making a mess on your counters and floors.
How to Enjoy Your Sake
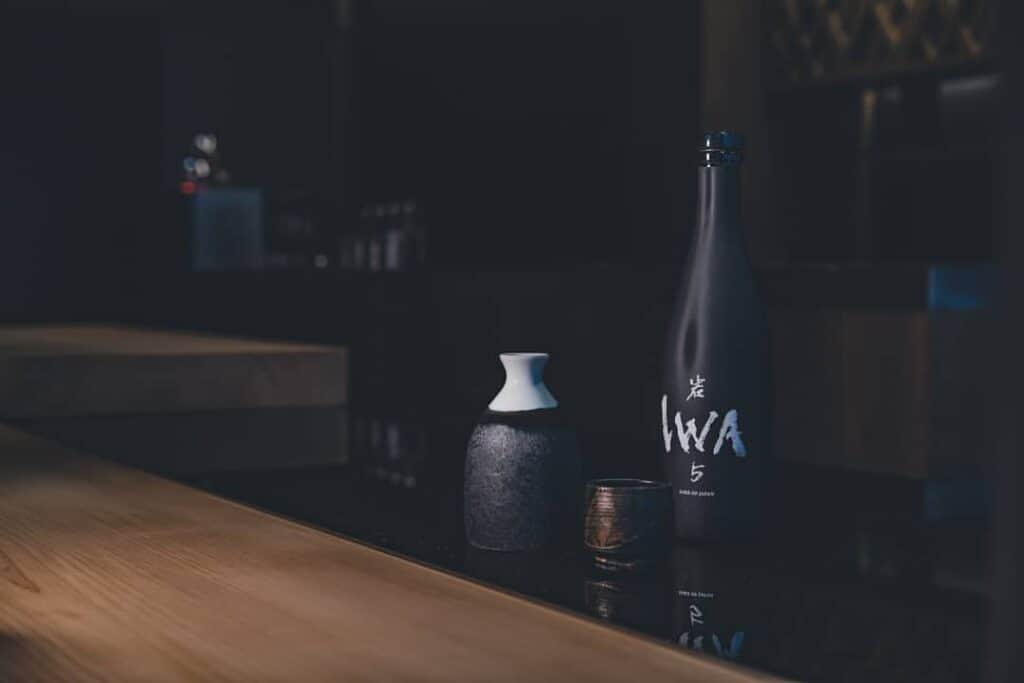
Okay, so your sake is ready to drink, now what?
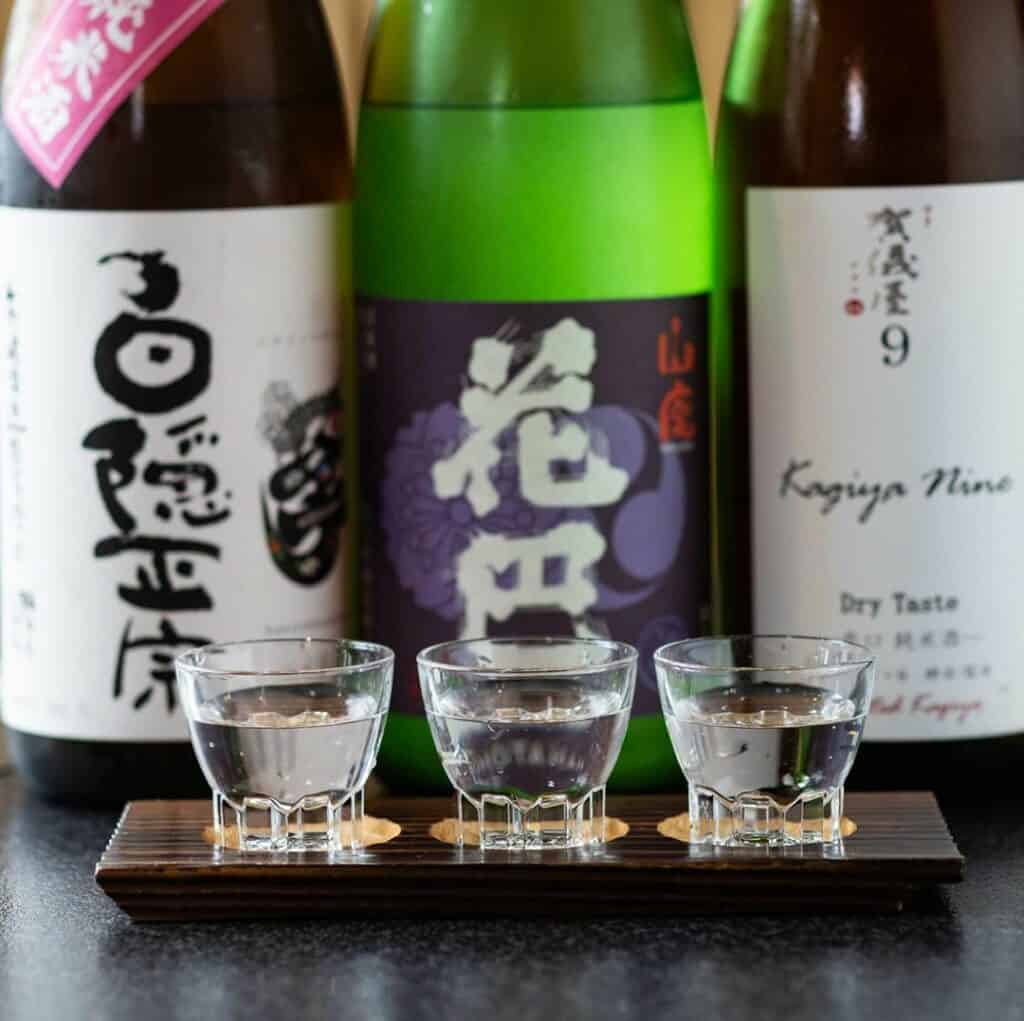
Firstly, it can be served either hot or cold. You can serve it straight out of the fridge or heat it up in the microwave first. It is believed by some drinkers that if a sake is not as high of quality, heating it up will actually help it taste better.
However, just because sake is warm does not mean it is bad, as it was very popular to serve sake warm when it was originally developed in Japan. It is also traditionally served in small cups, but this does not mean it is a shot. If you drink it that quick, or “shoot it down,” you are going to miss the beautiful flavor profile you have cultivated.
Americans often assume the small cup is really just a shot glass, but this is simply not the case. It is also important to note that in traditional Japanese culture it is customary to not pour your sake yourself, but to have someone else do it. Now if you are home alone, I guess that is just something you will have to figure out.
Ending on a good note
Served hot or cold, in a tiny cup or straight out of the mason jar, sake is a deliciously popular alcoholic drink for a reason. Regardless of how you enjoy your sake, it is certain to taste better after you spend two weeks making it taste so good. Be sure to share this recipe with your friends; or maybe even have them help you make it. You are going to need someone to pour your drink for you anyway!
Want to know more about Japanese beverages? Read also :
- Are Sake Bombs Gluten Free?
- How To Invest In Japanese Whisky
- How To Store Japanese Whisky
- Does Costco Sell Japanese Whisky?
- Halaka And Drinking : Is Japanese Whiskey Kosher?